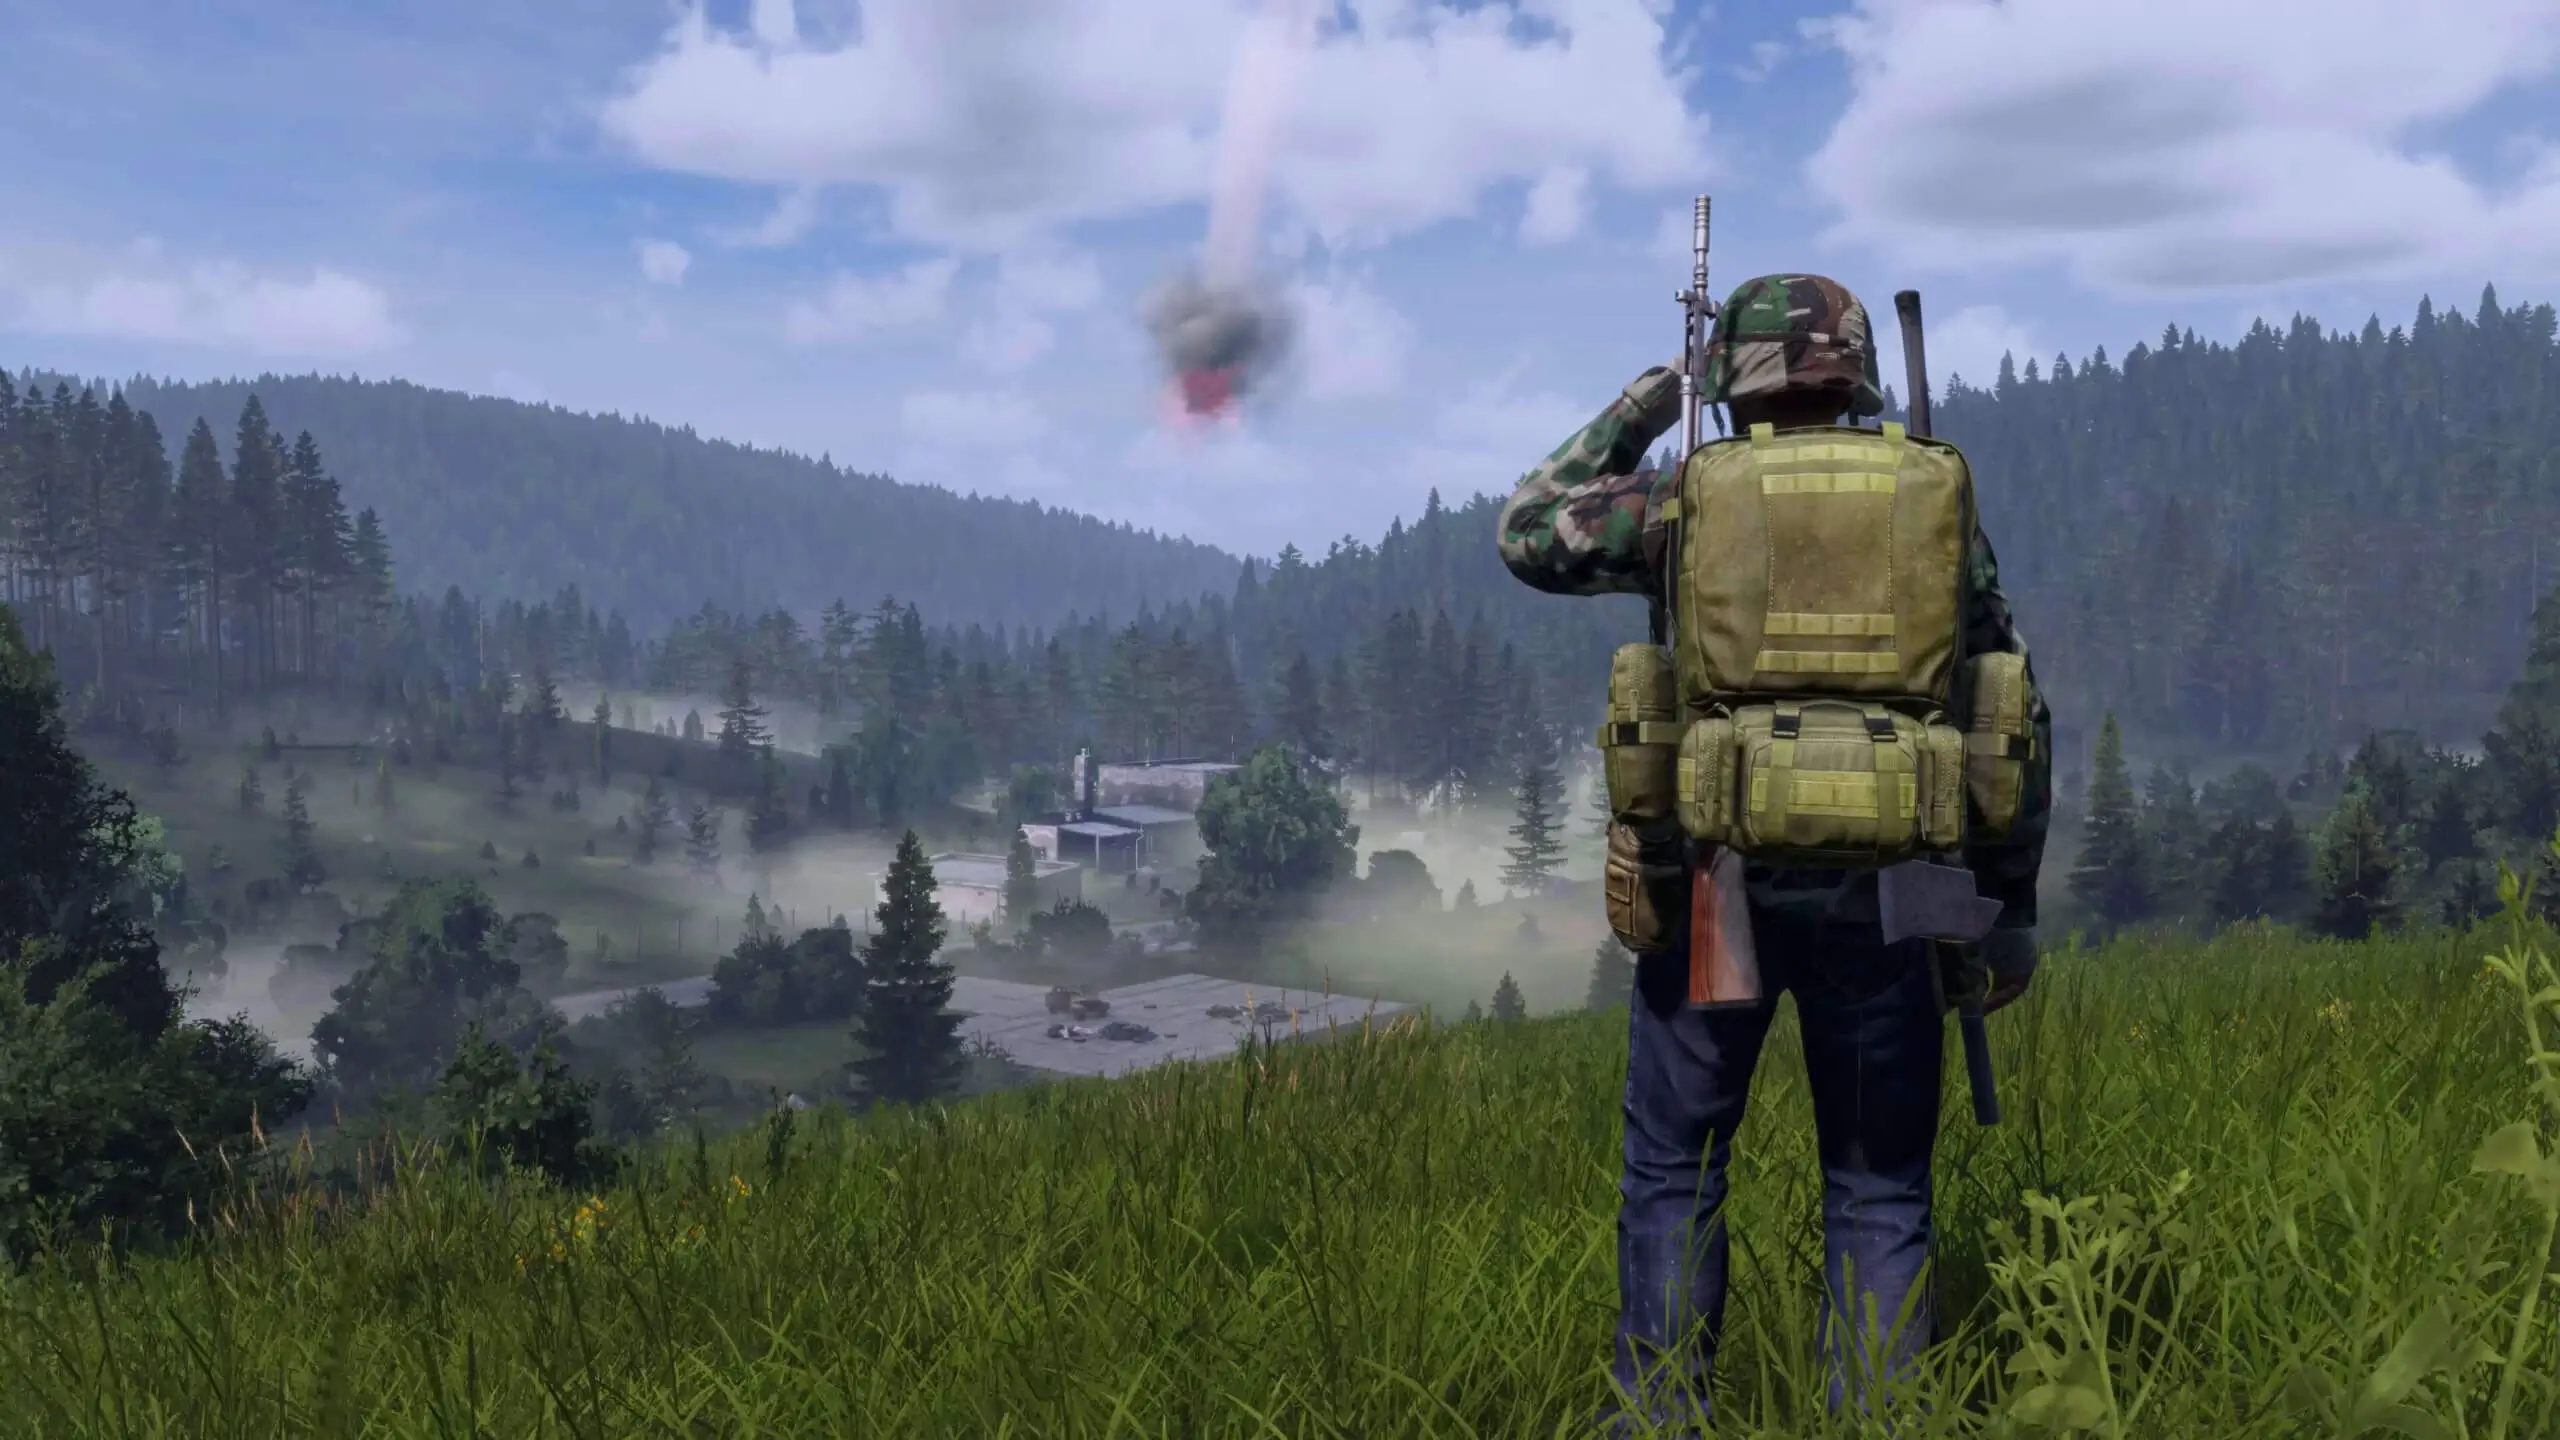
Want to explore new terrains on your DayZ server? This easy-to-follow guide will show you how to upload a custom map to your DayZ server.
Here's how to download and then upload a custom map to your DayZ server. In this example, we'll be using the Melkart_Official Map.
Downloading a Custom Map
- 1Subscribe to the map on Steam Melkart_Official Steam Workshop.
- 2Find server files to download. For example, Melkart_Official Server Files.
- 3Select the version you want. For example,
Melkart1.25.rar, then on the right-hand side, click the download icon. - 4Extract the downloaded contents.
This is what you should now see:
Uploading a Custom Map
Here's how to upload a custom map to your DayZ server. This will also cover installing Melkart_Official as a mod to your server.
- 1Log in to Bropanel and
Stopyour DayZ server. - 2
- 3
Enabling Your Custom Map
Following the above steps, here's how to enable your custom map, using Melkart_Official as an example.
- 1Log in to Bropanel and
Stopyour DayZ server. - 2In the sidebar, go to
Files. - 3Open
serverDZ.cfg. - 4Scroll down and edit
template=toempty.melkart. - 5Click Save and then start your server.
Here's what your serverDZ.cfg should now look like:
class Missions
{
    class DayZ
    {
        template="empty.melkart"; // Mission to load on server startup. <MissionName>.<TerrainName>
					      // Vanilla mission: dayzOffline.chernarusplus
					      // DLC mission: dayzOffline.enoch
    };
};
Note
You can follow the same format for other custom maps from the Steam Workshop. However, always remember to follow any instructions that the map author may include.
The template= name is the name of the map folder uploaded to mpmissions on your server. The naming scheme for this is officially <MissionName>.<TerrainName>.