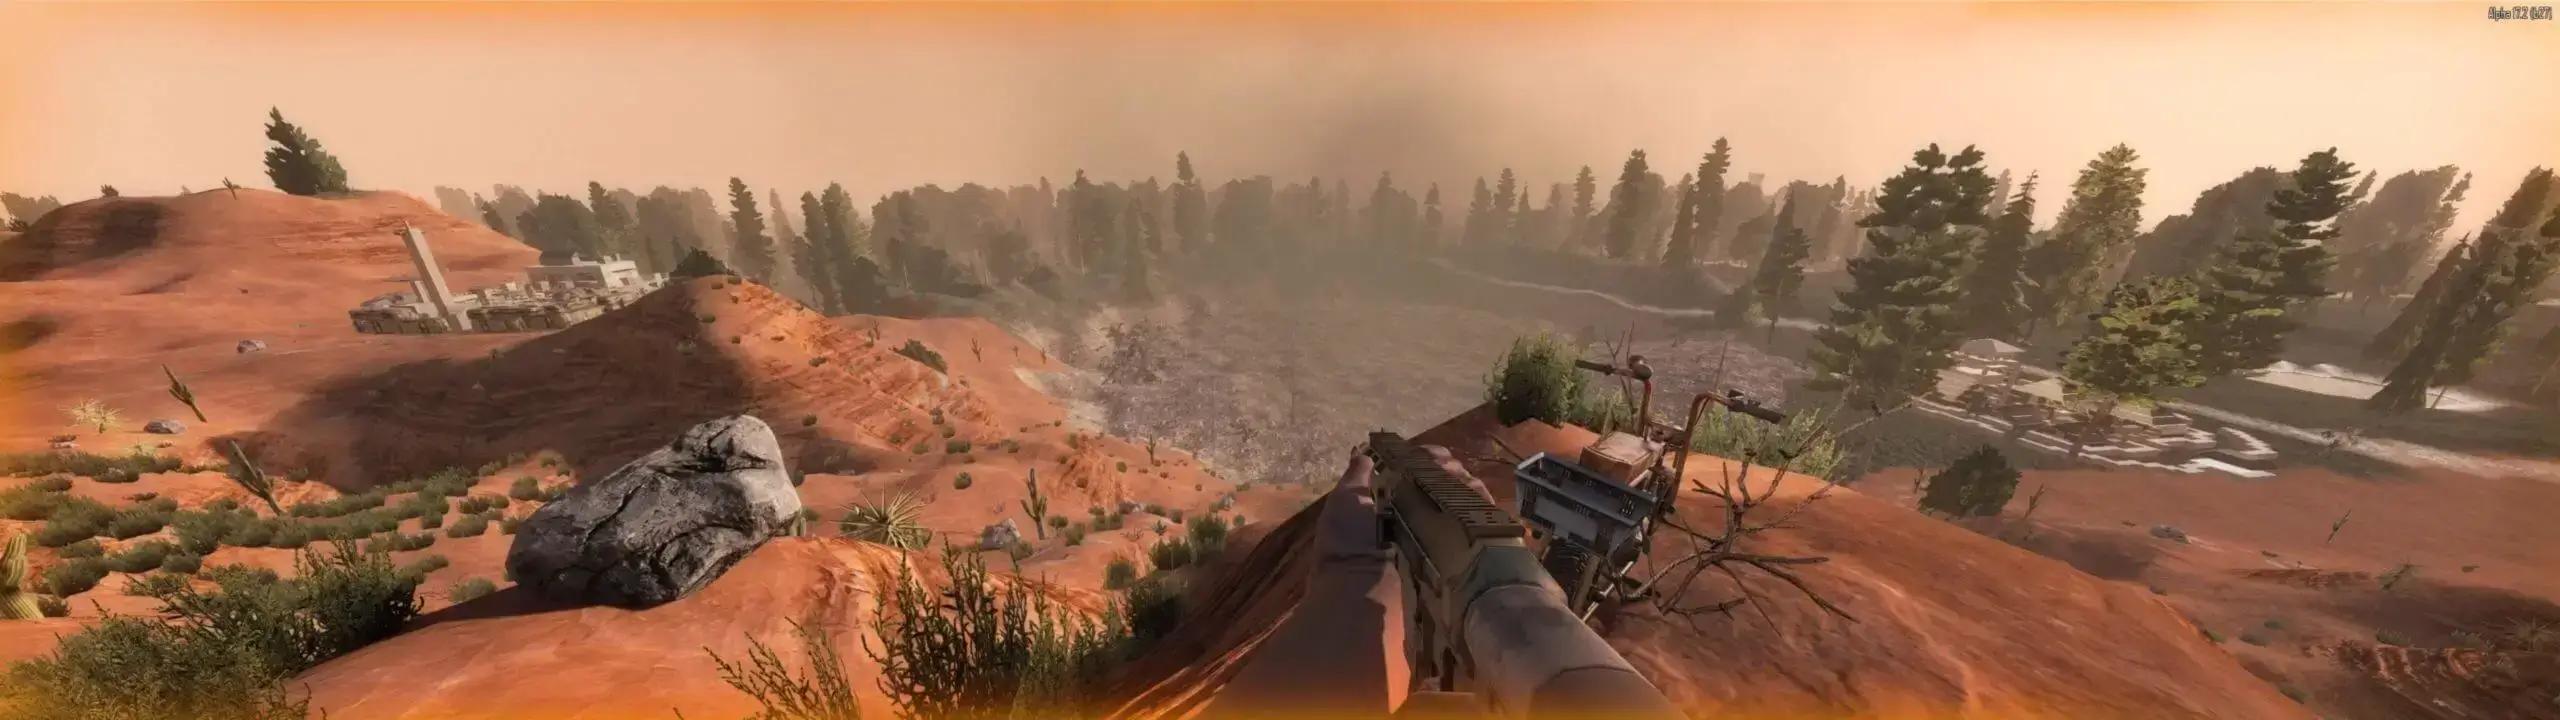
The 7 Days to Die interactive map lets you view your world and track players in real-time through a web browser. It uses the Allocs Server Fixes mod alongside the built-in Web Dashboard. This guide covers how to install the mod, enable map rendering, and access the live map on your 7 Days to Die server.
Installing Allocs Server Fixes (Modded)
Caution
If you have crossplay enabled, you must skip this step as modded servers are not compatible with crossplay.
If you're new to modding 7 Days to Die, setting up a live map is rather advanced and requires additional setup compared to your average mod installation. This guide operates under the assumption that you have some prior experience with modding and configuration files.
Enabling the 7 Days to Die Interactive Live Map
- 1Log in to Bropanel and
Stopyour server. - 2In the sidebar, go to
Files. - 3Open
.local/share/7DaysToDie/Saves/serveradmin.xml..localshare7DaysToDieSavesserveradmin.xml - 4Paste this under the
</apitokens>section, and click save.
<webmodules>
 <module name="web.map" permission_level="2000" />
</webmodules>
The bottom of your file should now look like this:
  <apitokens>
    <!-- <token name="adminuser1" secret="supersecrettoken" permission_level="0" /> -->
  </apitokens>
  <webmodules>
    <module name="web.map" permission_level="2000" />
  </webmodules>
  <webusers />
</adminTools>
- Permission level 2000 means anyone can view the live map without logging in to your web dashboard with Steam.
Enabling the 7 Days to Die Web Dashboard With Map Rendering
- 1Log in to Bropanel and select your server.
- 2In the sidebar, go to
Settings. - 3Set
Web Dashboard EnabledtoEnabled. - 4Set
Enable Map RenderingtoEnabled. - 5Click
Save & Restartto apply your changes.
Viewing Your 7 Days to Die Live Map
- 1Copy your servers IP address.
- 2In your browser, go to your
ServerIPAddress:WebDashboardPort, for example:123.123.123.123 being the IP address of the server, and 7800 being the Web Dashboard Port, as seen at123.123.123.123:7800Settings → Web Dashboard Port. - 3Select Legacy-Map to view your Live Map.
If you're an admin and you sign in to the Web Dashboard, you'll have additional features; normal users can only see the map and its chunk regions.
Rendering a 7 Days to Die Map
To render the map, a player will either have to explore it, or you can use the visitmap -x -x x x command, replacing -x -x for negative coordinates, and x x for positive coordinates, for example an 8k map can be rendered with this command into your server console:
visitmap -8192 -8192 8192 8192
Here are the visitmap commands for all of the pregen map sizes:
4k Pregen
visitmap -4096 -4096 4096 4096
6k Pregen
visitmap -6144 -6144 6144 6144
8k Pregen
visitmap -8192 -8192 8192 8192
10k Pregen
visitmap -10240 -10240 10240 10240