
Adding mods to Arma 3 is a great way to mix up the gameplay and try new things. Whether it's a simple quality-of-life mod or a total overhaul, there'll likely be something that's perfect for you. This guide will cover where to find and add mods to your Arma 3 server.
Note
Whichever method you use, make sure you include all dependencies your mods may require, otherwise they may fail to load.
Finding Arma 3 Mods
You can view all the Arma 3 mods here.
Browse the Steam Workshop and Subscribe to the mods you want to add.
Exporting Your Arma 3 Modlist
- 1Open Arma 3 to launch the Arma 3 Launcher.
- 2Go to the
MODStab and enable the mods you want. - 3Select
More > Export list of mods to a file. - 4Choose
Only LoadedorAll Mods. - 5Save your modlist, named
modlist.html.
Installing Mods with a Modlist Recommended
Now that you've exported your modlist, here's how to install these mods on your server. This is the easiest way to add mods, and the method we recommend.
The mods will automatically update, download, and enable once your server starts. Users can download these mods while connecting to your server.
How to Get Your Workshop Mod IDs
As an alternative approach, you can install mods using their Workshop IDs. You will need the Workshop ID of each mod you want to install, which you can find by browsing all the Arma 3 mods here.
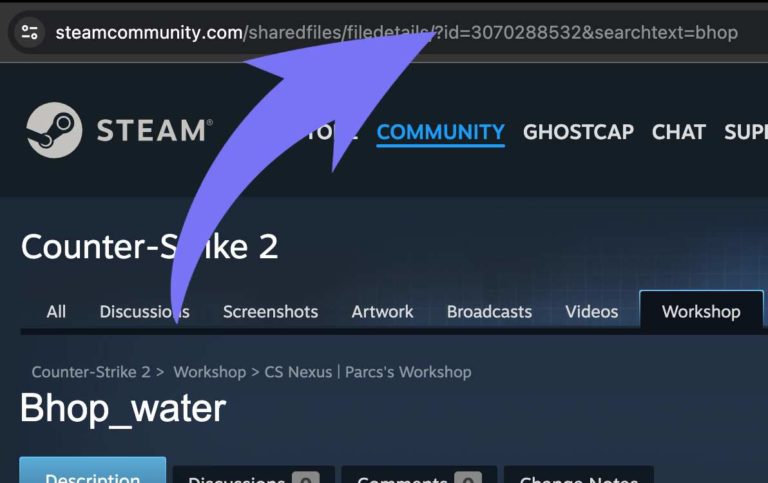
Once you find the mod you want, you need to copy the URL. Let's use this URL for example: https://steamcommunity.com/sharedfiles/filedetails/?id=3700981838
In this example, the Workshop ID is 3700981838.
Installing Mods in Settings
You can also install mods from your server's Settings instead of exporting a modlist. This is handy for quickly adding or removing individual mods on the fly.
- 1Log in to Bropanel and select your Arma 3 server.
- 2In the sidebar, go to
Settings. - 3In the
Additional Modsfield, enter your mods separated by semicolons. - 4Restart your server.
We recommend entering each mod as its Workshop ID in @workshopID form (for example, @123456789;@987654321;), as these are kept up to date when your server starts.
Note
Spaces in mod folder names will be ignored, so use Workshop IDs or lowercase folder names without spaces.