
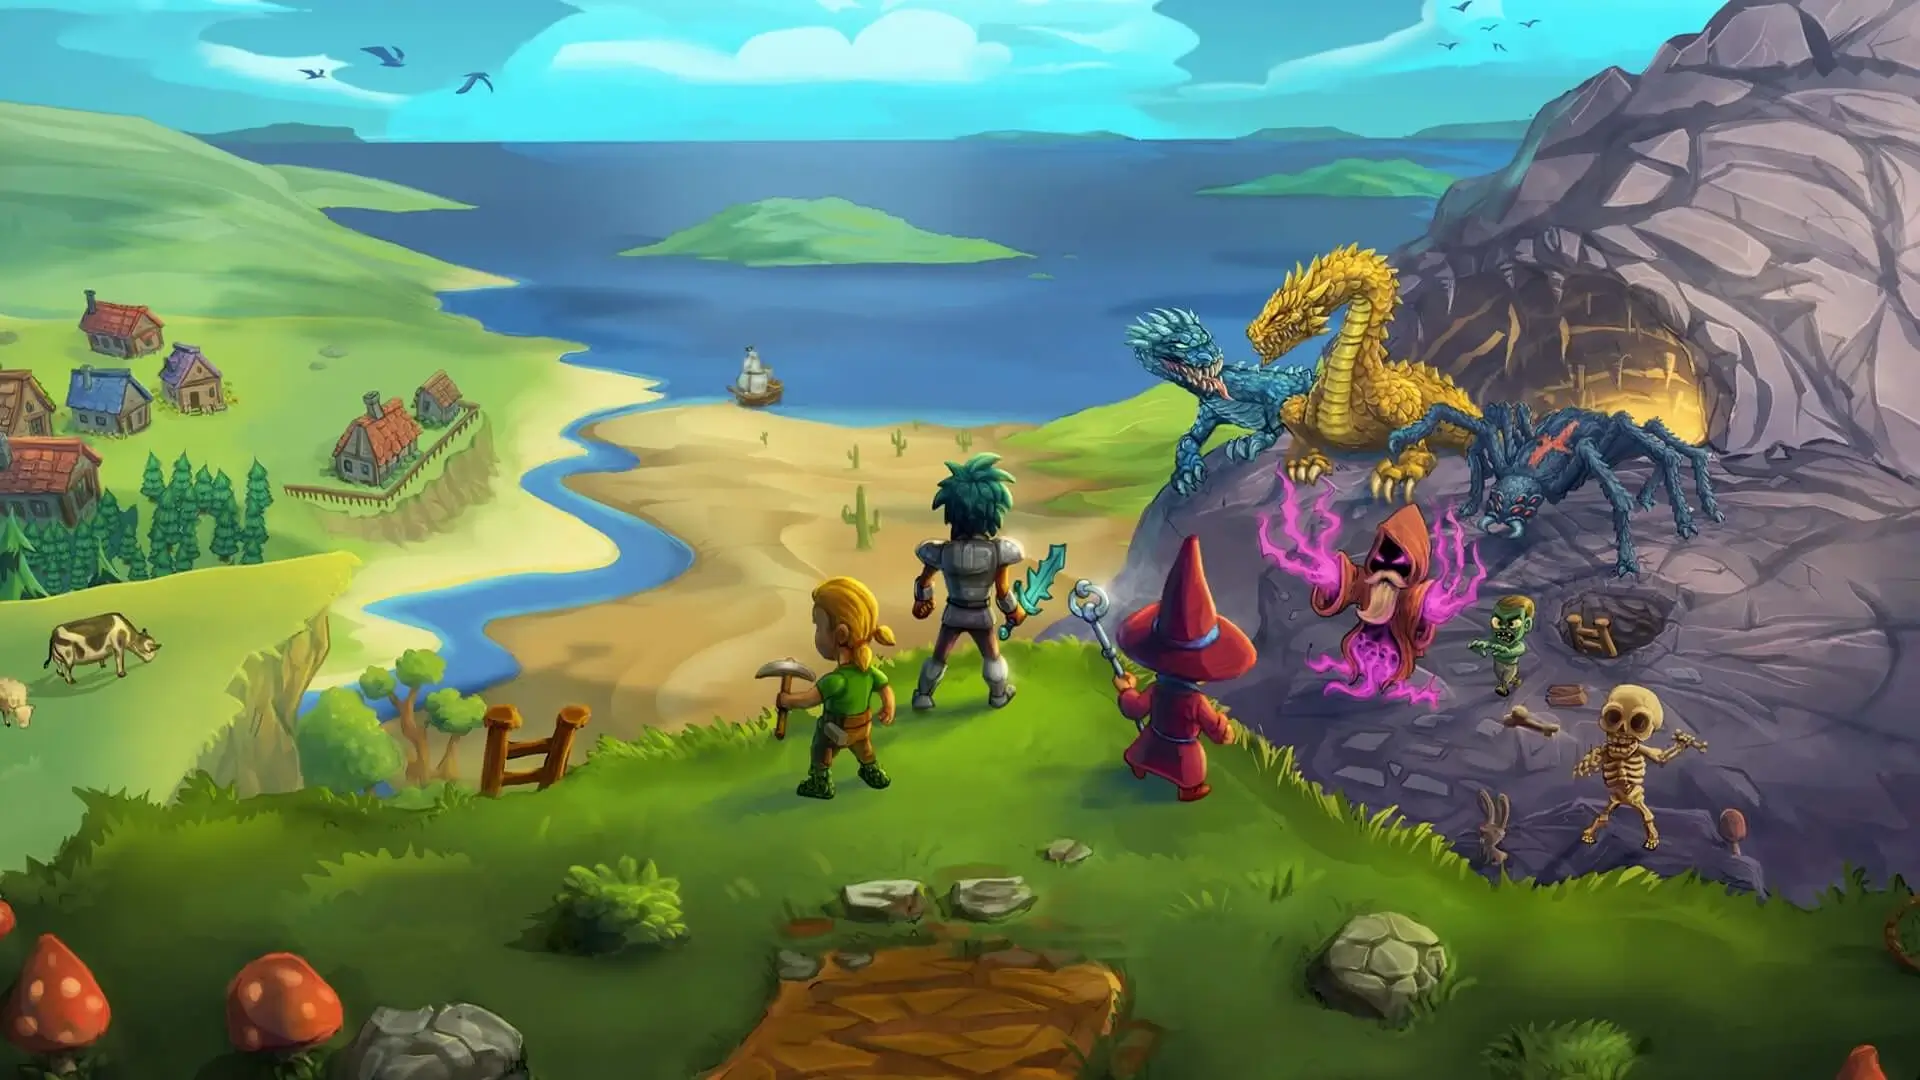
In this guide we will show you how you can install both Workshop mods and manual mods on your Necesse server.
Note
Steam Workshop items are downloaded when the server starts, so changes apply after saving and restarting your server.
Using the Steam Workshop Installer Recommended
The easiest way to install mods is directly through the panel.
- 1Log in to Bropanel and select your Necesse server.
- 2In the sidebar, go to
Modsand open theBrowsetab. - 3Search for the mod you want and click
Install. - 4Restart your server.
How To Get Your Workshop Mod IDs
As an alternative, you can install mods by pasting their Workshop IDs directly into your server's Settings. You will need to know how to get a Workshop ID for each mod you want to install. You can view all the Necesse mods here.
Once you find the mod you want you need to copy the URL. Let's use this URL for example: [https://steamcommunity.com/sharedfiles/filedetails/?id=3574352062]
The Workshop ID is the number at the end of the URL; in this case, the Workshop ID is 3574352062.
Installing Mods in Settings
- 1Load Bropanel and
Stopyour Necesse server. - 2In the sidebar, go to
Settings. - 3Under
Mods, find theSteam Workshop Modssetting and add the Workshop IDs of your desired mods.- For a single mod:
3574352062 - For multiple mods:
3574352062,3549799893,3507626499
- For a single mod:
- 4Click
Save & Restartto apply your changes.
The mods will automatically download, stay up-to-date and enable once your server starts.
Manually Installing Necesse Mods
For mods that are not available on the Steam Workshop, you can manually install them by uploading their mod.jar file to your server.
- 1Log in to Bropanel and
Stopyour server. - 2In the sidebar, go to
Files. - 3
- 4Start your server.