
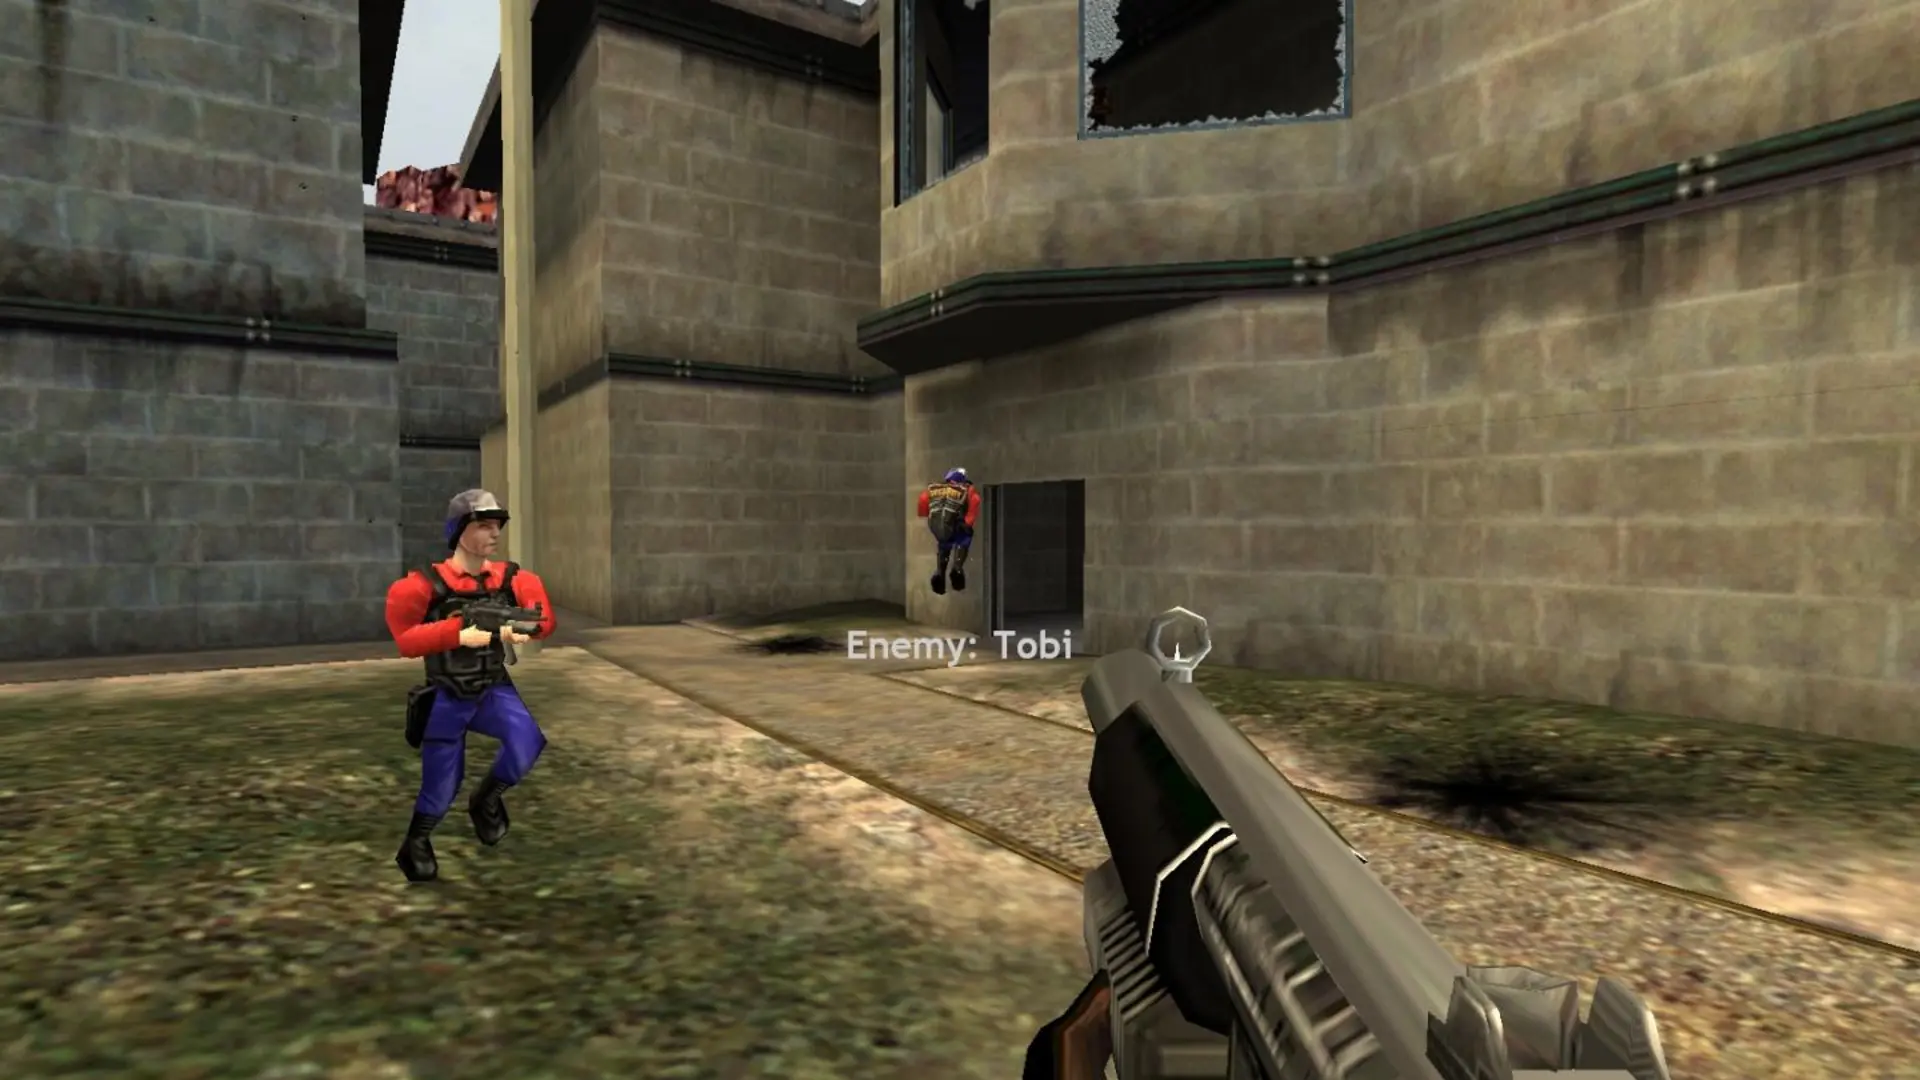
Here is how to choose the map your Half-Life Deathmatch: Source server starts on, add custom maps and set up a map rotation.
Changing The Starting Map
- 1Log in to Bropanel and select your server.
- 2In the sidebar, go to
Settings. - 3Under
Gameplay, editDefault Map. Enter the map name without.bsp, for examplestalkyard. - 4Click
Save & Restartto apply your changes.
The stock maps are bounce, boot_camp, crossfire, datacore, frenzy, lambda_bunker, rapidcore, snarkpit, stalkyard, subtransit and undertow.
Tip
You can change the map while the server is running by typing changelevel mapname in the server console.
Adding Custom Maps
- 1Log in to Bropanel and
Stopyour server. - 2In the sidebar, go to
Files. - 3Navigate to
hl1mp/maps. - 4
- 5Start your server.
Custom content is synced to FastDL when your server starts, so players download it quickly when they join.
Setting Up A Map Rotation
- 1Log in to Bropanel and
Stopyour server. - 2In the sidebar, go to
Files. - 3Navigate to
hl1mpand openmapcycle.txt. - 4Add one map name per line, without
.bsp. - 5Start your server.
The server moves to the next map in the list when the time or frag limit is reached. Set those with mp_timelimit and mp_fraglimit in server.cfg, see config files.