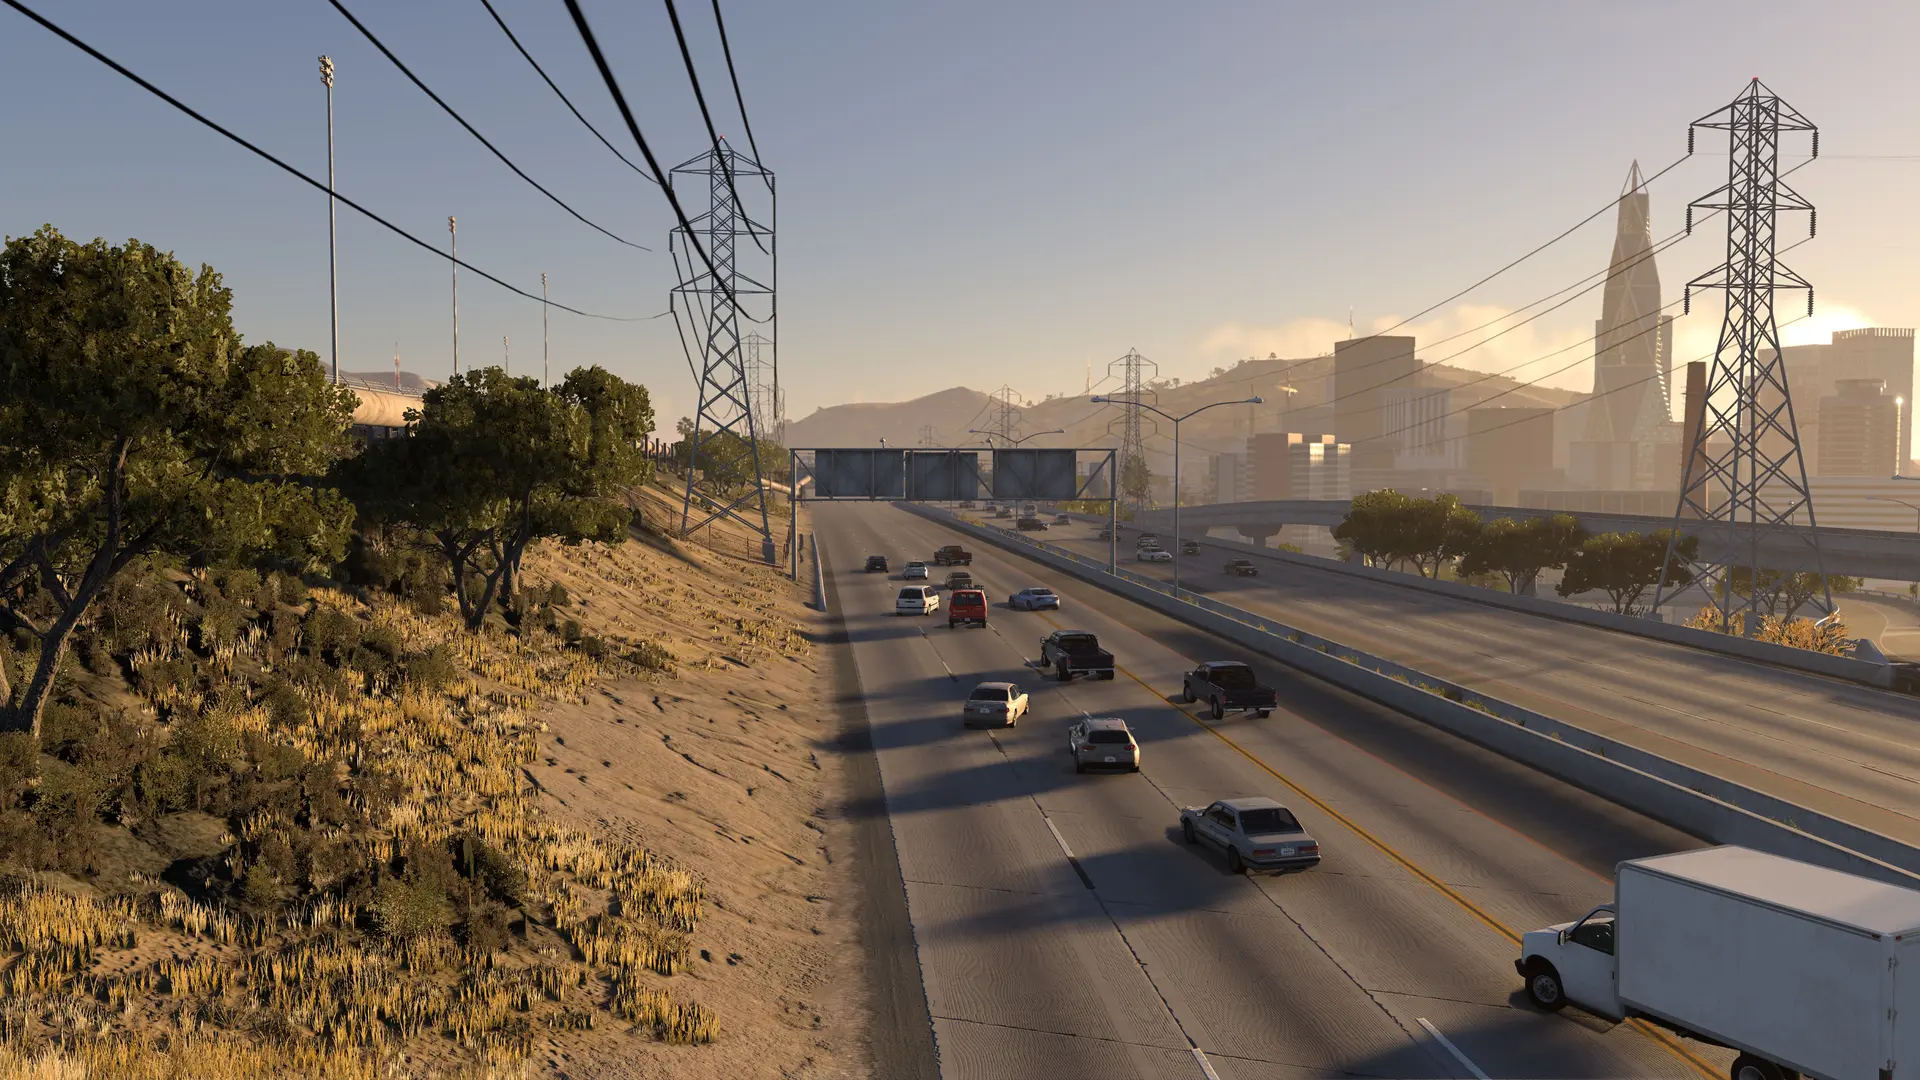

Mods on your HighBeam server are BeamNG.drive mod zips, like the maps and cars on beamng.com. Players don't install them themselves: HighBeam downloads your server's mods when they join, shows them what each mod contains and asks before installing it.
Before You Start
- Every player downloads every mod. Fewer, smaller mods mean faster joins.
- Not every mod works well in multiplayer. Add mods a few at a time and check them with a friend before adding more.
- Mods are zip files. Don't unzip them, and keep them straight in the
modsfolder, not in a folder inside it.
Using The Mod Installer Recommended
- 1Log in to Bropanel and select your server.
- 2In the sidebar, go to
Modsand open theBrowsetab. - 3Search for the map or car you want and click
Install. - 4Restart your server.
The Installed tab lists your mods, where you can turn a mod off, remove it or update it to its newest version on beamng.com.
Uploading Mods Yourself
For a mod that isn't on beamng.com, upload its zip yourself.
To play on a map from a mod, see Change Map. To remove a mod, delete its zip from mods and restart your server. Players' games forget it the next time they join.
Note
Leave mods.json in the mods folder alone. It is your server's own list of its mods. HighBeam also refuses mods whose file name starts with highbeam, so rename a zip like that before you upload it.