
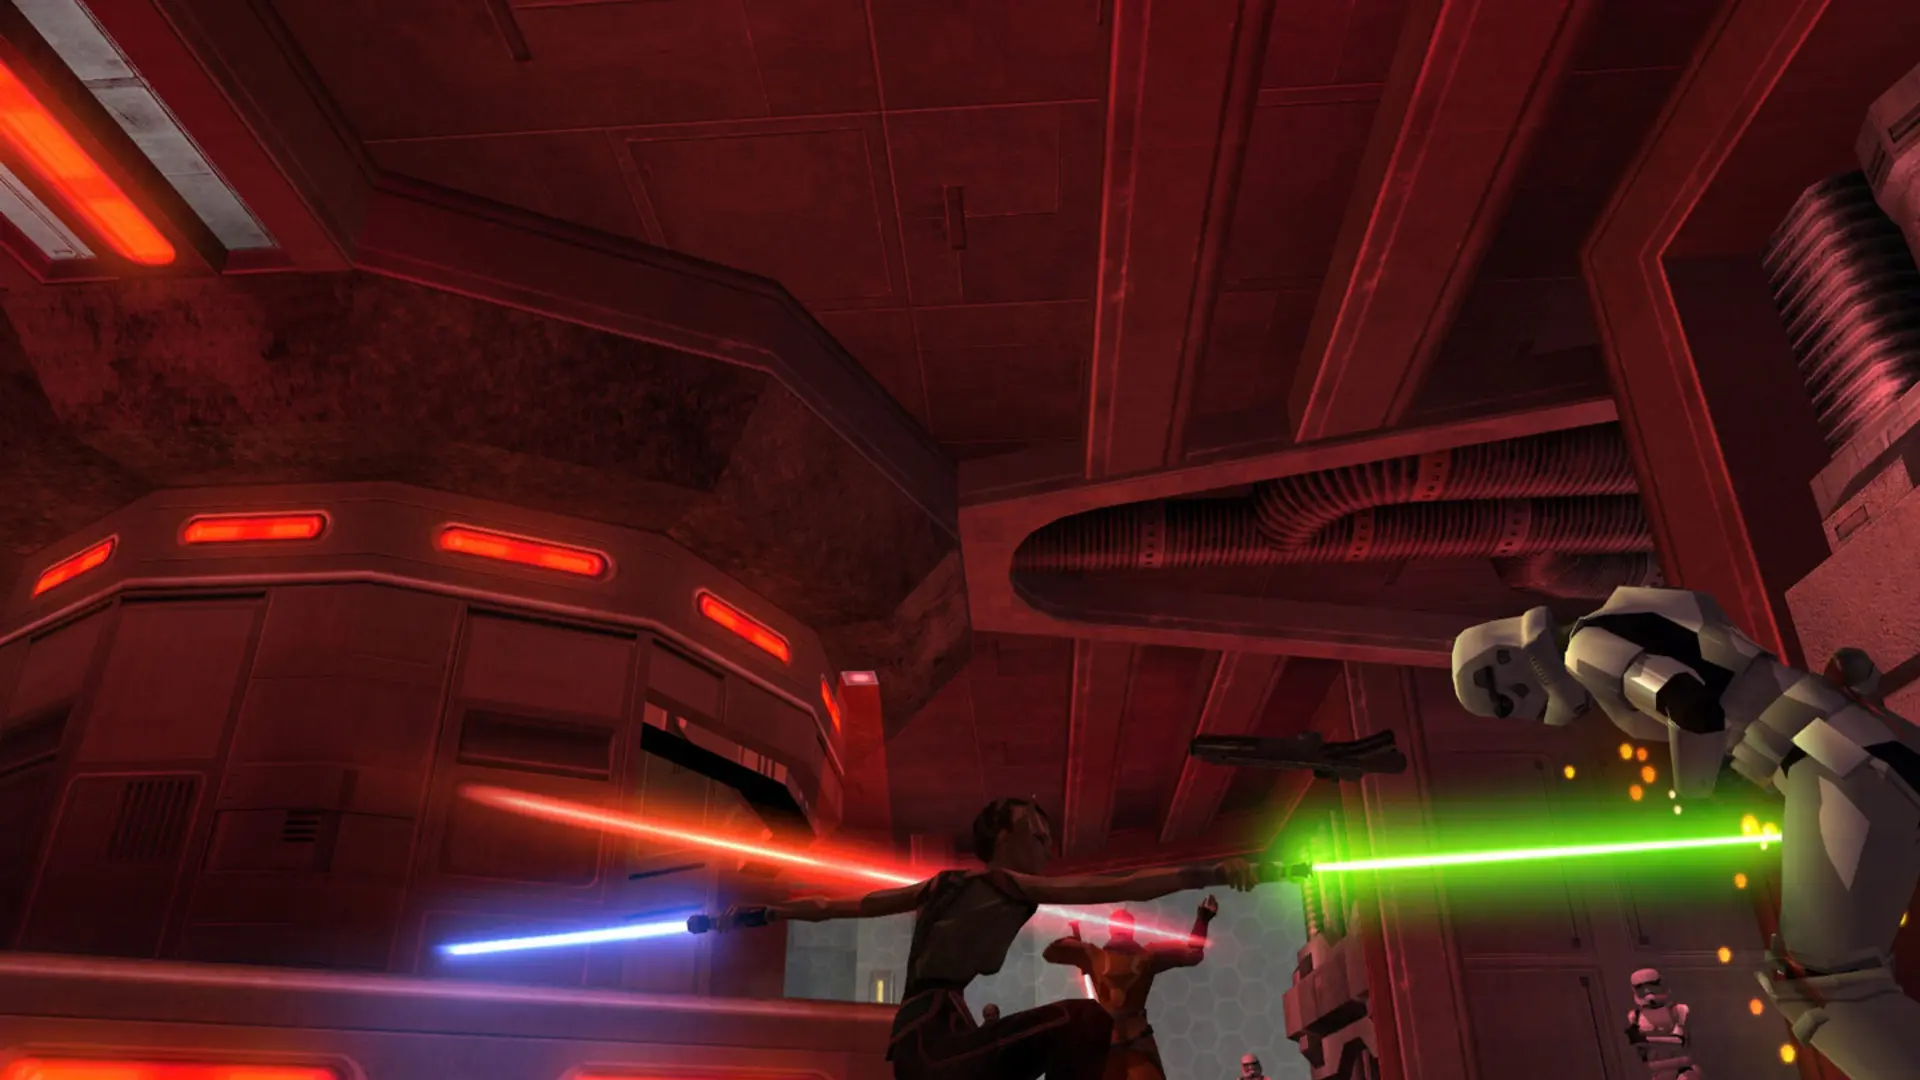
Besides Movie Battles II, your server can run any Jedi Academy multiplayer mod that has a Linux server build, such as JA+. Here's how to upload one and switch to it.
Uploading The Mod
- 1Download the mod's server files and unzip them on your computer. You should get a folder, for example
japlus, with.pk3files and ajampgamei386.soorjampgamex86_64.sofile inside. - 2Log in to Bropanel and
Stopyour server. - 3In the sidebar, go to
Files. - 4
- 5Start your server.
Switching To The Mod
- 1Log in to Bropanel and select your server.
- 2In the sidebar, go to
Settings. - 3Under
Modding, setModtoCustomand enter the folder name, for examplejaplus, inCustom Mod Folder. - 4Click
Save & Restartto apply your changes.
Note
Mods that only ship Windows files (jampgamex86.dll) can't run on the server. Look for the mod's Linux or server download.